An Artist's Style - Part II

Last week I talked about an artist’s style and my complete lack of one. So in continuation of that I decided that I would take a stab at trying to help you find yours. I know, that makes no sense, since I have pretty much no idea what mine is! These are just the mental steps that I followed when I was trying to develop/find one. Hopefully, they work better for you than me!I think the following steps could be applied to more than fine art so try and let me know!​

I’m warning you now, this might seem really obvious but I know a lot of artists who have never really looked at finished work! And it might tell you some interesting things even if you don’t find a pattern!​

My go to pieces! 

My go to pieces! 

Gathering your most important work ​

Right, here, ‘important’ is a pretty relative term. I just mean the work that speaks to you and others the most. The most ‘successful’  pieces (in your eyes) ​in your repertoire. Basically when someone asks to see some of your work, which images do you show them first! Above are the three pieces that I always go to, they’re some of my best work in my mind. 

This work would encapsulate you best​, and the more background sketches, inspiration images and little experiment pieces you add with the finished one, the better! They say even more about you, your style and your process than just the piece. Put them together in an digital album; just gathering them up so you can look at them together.  

​Some work that I would discount are very specific commissions (you and the client worked together, its not pure you), any excercises that you did for a class/workshop (that’s your teacher’s style diluting yours) or any work where you were trying to figure out a new medium/tool. 

Look at all of the work together ​

You’ve got a summation of your work laid out in front of you. What catches your eye? What’s the most prominent pattern? It should be something to make people go: “Oh yeah, that’s ______’s work!”. Maybe get someone who doesn’t know your work too well to have a look as well and see what stands out to them. It may be something you missed!​

If you’re really struggling put your art analysis skills (come on, we all have them cause we’re constantly looking at art) to the test and try to ​find patterns in the following: technique, color, composition, and specific elements like flowers, skulls, whatever!  

​Still don’t find a really big obvious pattern? Try the next step 

Looking at emotion as a theme  

Looking at emotion as a theme  

Find the reason/inspiration between the pieces ​

Hey, an artist’s style doesn’t actually have to be that obvious! Maybe your inspirations tie them together! This was the final thing that led me to find a style (well...half a style). 

Remember the thing that drove you to create it. Was it an emotion, an experience, or did you just love the look of that flower? ​You probably kept coming back to a theme. I know, I say that with unwarranted confidence, but seriously: every ​artist has an inspiration that they keep coming back to. You might have to dig a little ( why exactly was that flower so great?). The inspiration doesn’t necessarily have to apply to every single piece, sometimes you’re just painting for the sake of putting paint on a canvas. It should  tie most of them together though. 

If you find a distinct pattern, that’s your style! Congrats! Celebrate by making a new piece in your (now conscious) style! If this didn’t work for you, let me know below! If it worked amazingly, I’d love to hear that too! 

Good luck! ​

Shivani ​

Managing my Blog

I haven't been blogging for long but I thought I'd show you guys how I organise it! I definitely recommend blogging, it a great way to bring traffic to your website and let people into the inner workings of your business! 

So here goes; its worked for me so far: 

1. As soon as I have an idea or I've read an article about blogging, I add them to my list! It's really great when I have absolutely no ideas for the week's post. I'm not a great writer so this is really helpful

FullSizeRender.jpg

2. I then create the post, add in the basic details like a title, category and tags. If I already have an idea of where the post is going, Ill make some notes and add in the pictures I want to include. It helps set the structure of it so I can continue writing.  

IMG_0212.PNG

3. Using an iPad app called Over, I create a 'main image' which is what will be posted on social media with a link as well. I try to include the title so it doesn't neccesarily need a caption. 

IMG_0210.PNG

4. And finally, I put in all the text. Again, I'm not a great writer so I really try to make it flow and make it helpful. 

5. Squarespace allows people to place posts under draft, review or schedule it. So after the post is complete, it goes in for a review. This just means that I'll check back in a few days with a fresh perspectives to look for any typos or structure mistakes.  

6. The post is then scheduled for the a week. It's usually a few weeks in advance because I like writing multiple posts in advance so I don't have to worry about it. It also allows me to make changes in case I change my mind later!


Is there anything different you do? Let me know! 

Shivani  

Packaging Paintings

Alright, here's how I package my paintings and prints for shipping! So far, none have been damaged in the process but I don't tend to send paintings outside of Europe so they don't spend that much time in the packaging.  

The Thank you Cards: 

Ive always included a thank you message with a few business cards in my packages. To the recipient, it adds a personal touch and encourages them to recommend my website to their friends. The business cards means that they have to put in minimal effort to recommend me! Which works better than asking them to do so in the invoice etc.  


FF531BBE-C7C4-40AB-AEB7-B989C91BB6BB.JPG

The Invoice: 

Im lucky because Squarespace automates my payment without doing much on my end. However, even though this happenes automatically, I try to keep in touch with my clients when I'm creating. This way, we are both happy with the result of the commission (or delivery of an original).  


If the order doesn't go through my website then I will simply send over the invoice through email. This details each product (and their prices), any discounts, shipping details and payment details. This is simpler than sending over a hard copy cause they can print this or save it to their own records.  

FullSizeRender.jpg

Packaging the Pieces: 

I usually send paintings and commissions in a Versandrolle (a cardboard tube, basically). I take them off the frames and roll them with wax paper (unless they're varnished). This along with the thank you card goes in the tube and off it goes. It's usually cheaper than trying to keep the heavy wooden frame and most of my paintings are so large that sending them through post with the frame would cost a fortune! Of course, taking it off the frame is simple, you just take the staples in the back out. 

The paintings on card are sent in a envelope and the ones on wood are just wrapped in wax paper and thick brown paper so they surface isn't damaged.  


Anything else that you do, and I should be doing? Let me know! 

Shivani  

Palettes

I think I've tried them all at some point. None of them have stuck.  Ive never gone back to using any of these except the last one (which I'm not sure is an actual palette). Now this post may sound a little rant-like but bear with me! 

1. Glass palettes 

Artist's love these and I really don't get it! They are easy to clean and you can change the backing to make it perfectly 'clean'. But since I work with large formats (usually) and on the floor, I need it to be more portable and convenient than a glass palette can be! They are too heavy and unwieldy for me to keep moving around or even rest of my painting. 

2. Wax Paper or Tear Away Palettes

You know, they come in a pack and you basically rip off the pallete and throw it away. Ok, I used these for a while cause I had so many, but once again they didn't stick. They work well for just paint but when I mix in mediums and thinners, they tend to run over the edge or merge. Which leads to disaster as I tend to put my canvas on the dry section of my painting!

3. Wooden and Plastic Palletes  

Every artist started with one of those plastic palletes! The ones with the little wells and thumb hole. And of course, the more traditional wooden ones. I really love these for one reason: they keep a piece of each painting. But eventually this turns into a con! I've had palletes that became so caked in paint that they were entirely unusable. And I'd rather not keep spending money on palletes  

image.jpg

4. But finally! I found the right one! It's cardboard. Literally cut up pieces of packaging. I know it sounds ridiculous but not only is it cheap it works so well. You can cut out the size you want, shape it to hold more fluid mediums and in the end if you love the colors you can keep it! (That's what I did with the one below) And best of all, its cheap and you're recycling your trash.   

image.jpg

(5) Ok this one, I added as an afterthought! There comes a time when you're too lazy to grab another bit of card or maybe you're in the moment and don't want to pause to cut up boxes. I started just using my tarp for simple techniques. Like below, it works really well for pallet knives and those plastic wipers (sorry, I don't know what they're called!)  

4C43A975-BAB0-436F-B34F-02363285C140.JPG

Sorry about the rant, but hope it helped anyway! If you guys know any other types of pallets, let me know! 

Shivani  

Coping with Artist's Block

Everybody deals with artist's block at some point or the other. Trust me, I have days where there's not a single idea in my head. And there are days where the ideas just don't translate well; a hand turns into a paw. So here are a few tips that I use to get over the hump:


1. INSTAGRAM BOOKMARKS

So as you know, I run an instagram account for this website! I'm on instagram everyday; posting and interacting with other artists. So I naturally come across pieces that inspire me. The trick is to bookmark them so you can scroll through this for ideas later! Even if you don't run an instagram for your own work, you should definitely follow some artists or even just check out the art hashtag! 

FullSizeRender.jpg

2. PINTEREST BOARDS

This was my first way to find and categories art for inspiration! This is my art board, I have a lot of others for architecture, tutorials and references! This is a really good way to find some amazing pieces! And hey you can just follow my board for a constant stream! 

IMG_0208.PNG

3. GALLERIES AND ART MAGAZINES

Galleries are pretty self explanatory, but it's also a great way to understand how to curate and talk about your work! But the art magazines are a great source of inspiration. The Lumas Art Magazine is my favorite! It has such vivid pieces and although I don't usually use the techniques, the colors palletes are amazing!! So you can subscribe or just go to the gallery and pick it up. If you cant go to a gallery, check it out line. 

FullSizeRender.jpg

4. TUMBLR BLOGS

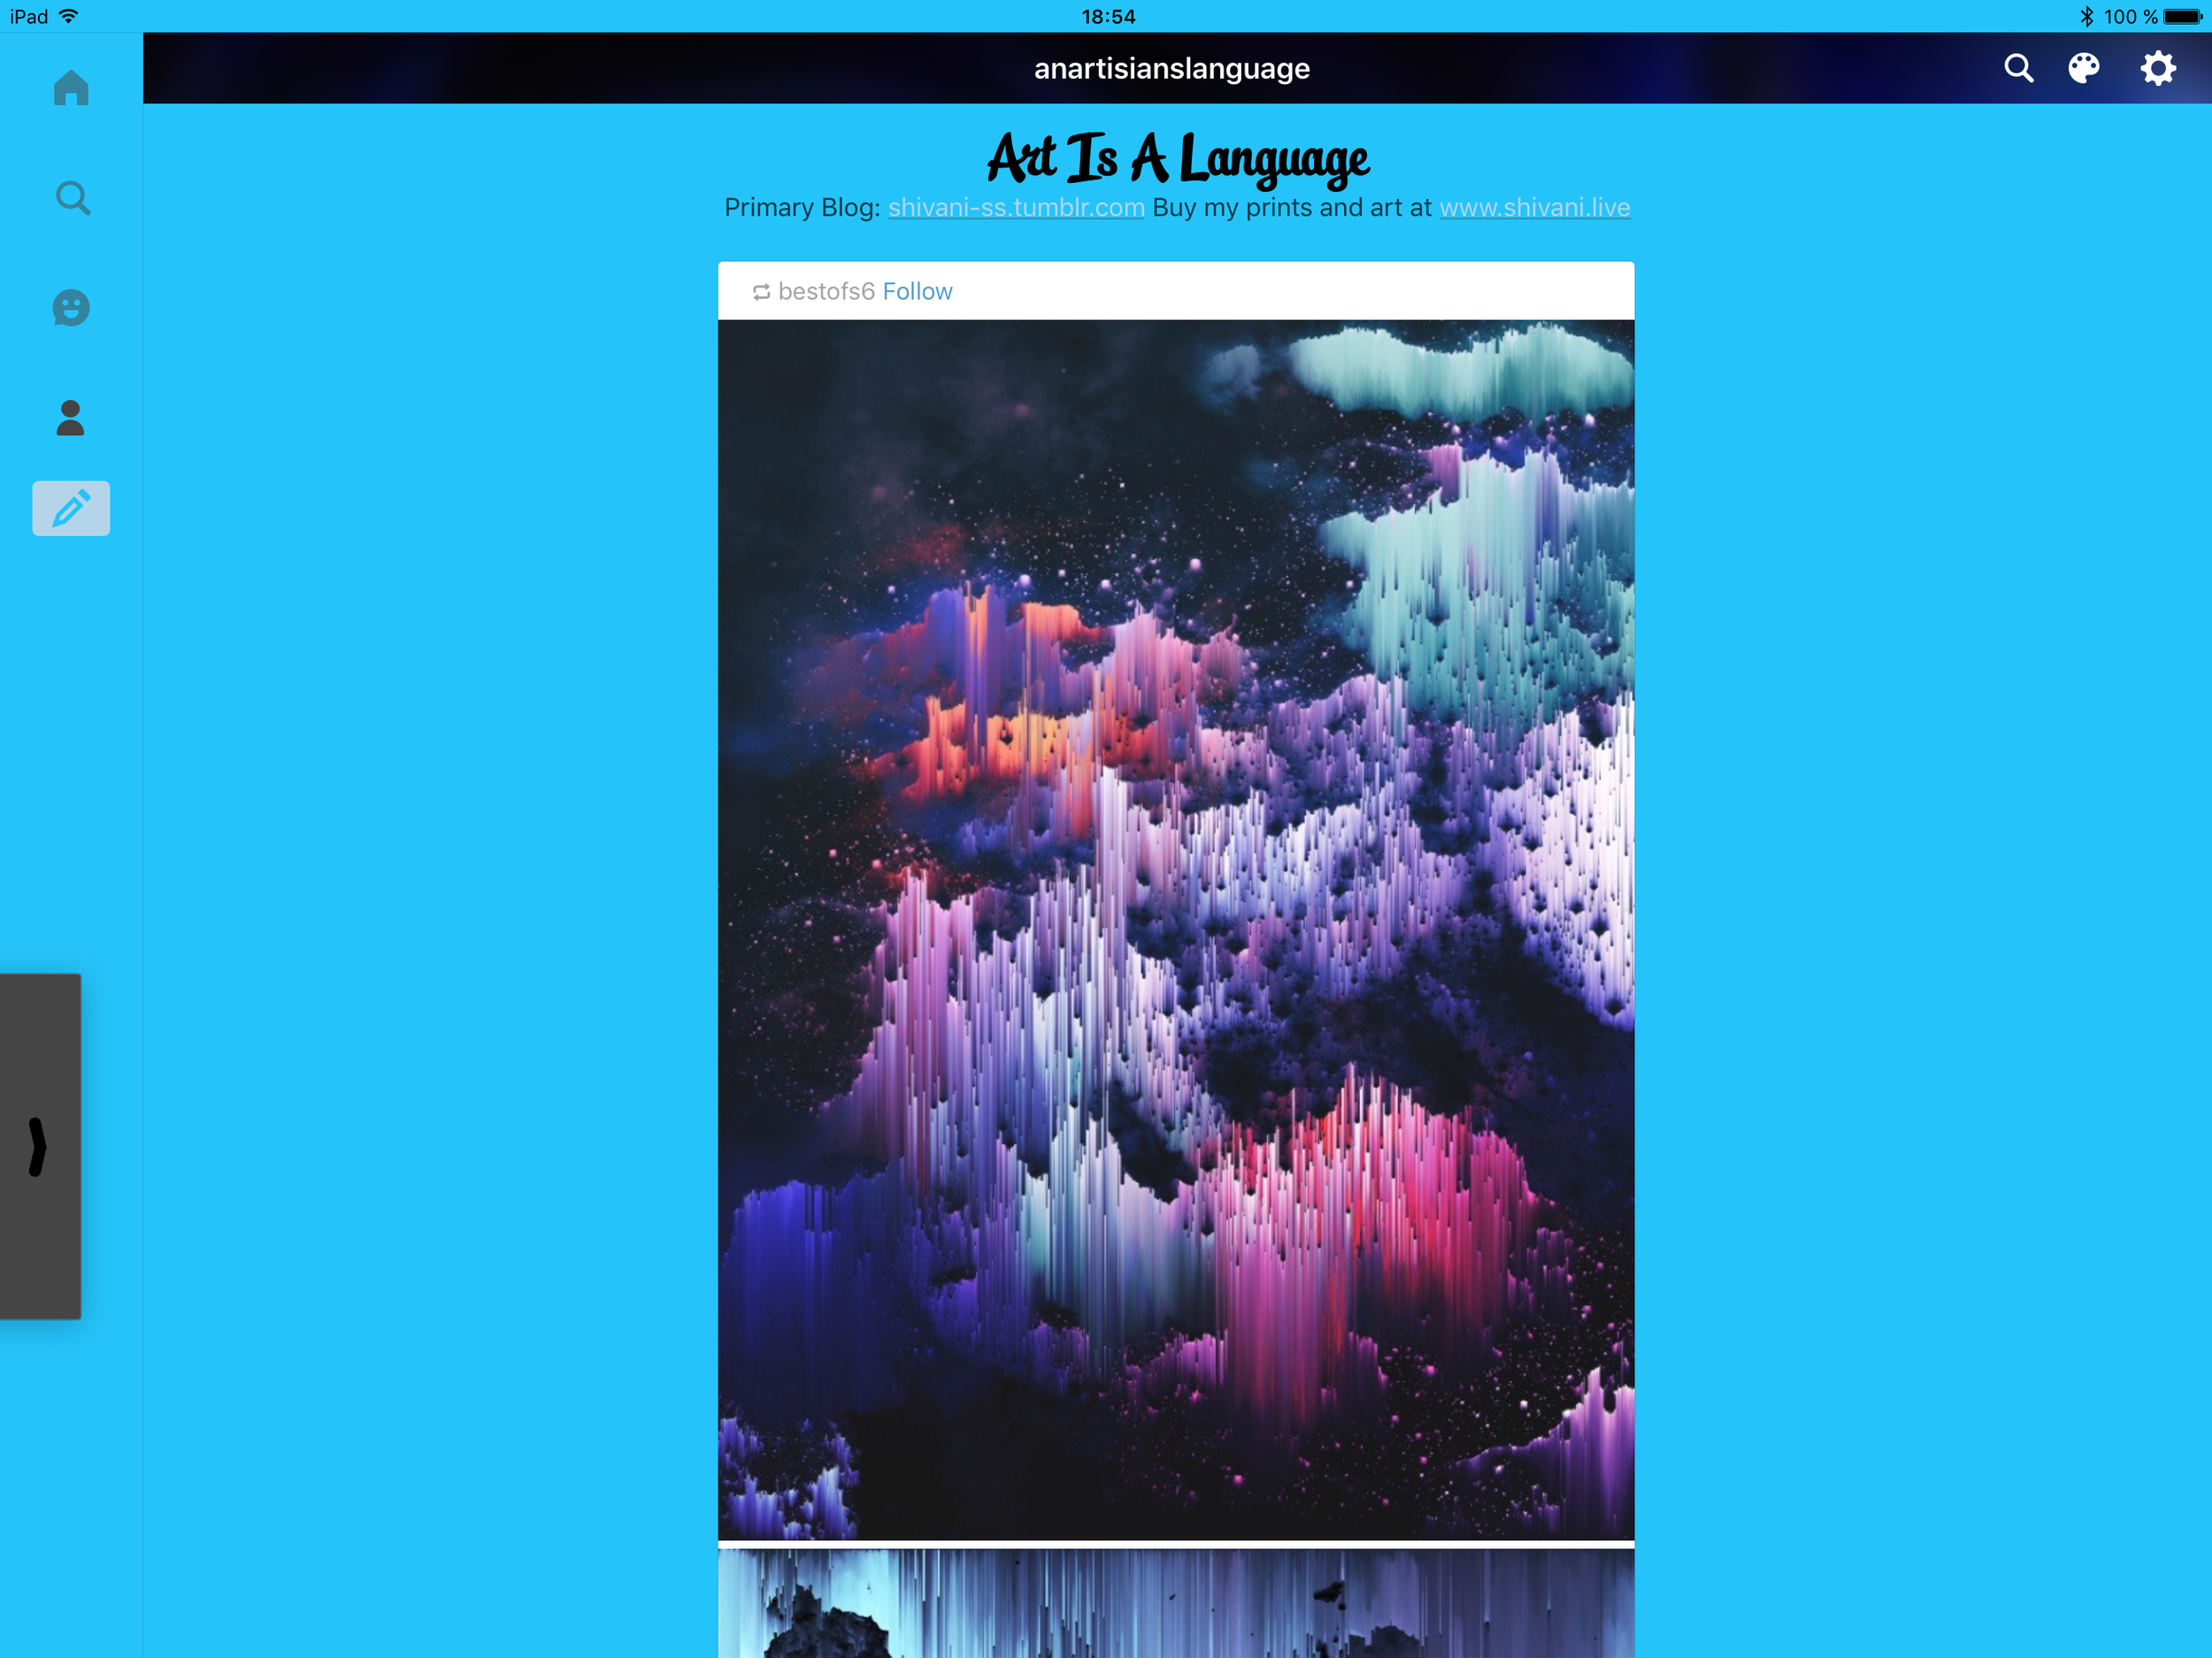
This is a little strange but tumblr art blogs are actually really interesting. They work like a combination of the Pinterest boards and the instagram blogs. I run the blog below for this website but I follow quite a few artists. Unlike instagram, they tend to reblog a lot from other artists and galleries instead of posting their own art.

IMG_0211.PNG

5. Worst comes to worst: just put pen to paper, brush to canvas or pouring medium in the cup. It's a cliche for a reason, right? I think the key is to not get completely discouraged when the hand drawing turns into a paw!  


Try them and let me know how they worked for you! And, of course, if you have some tips of your own, please share them! 

Shivani