An Artist's Style - Part I

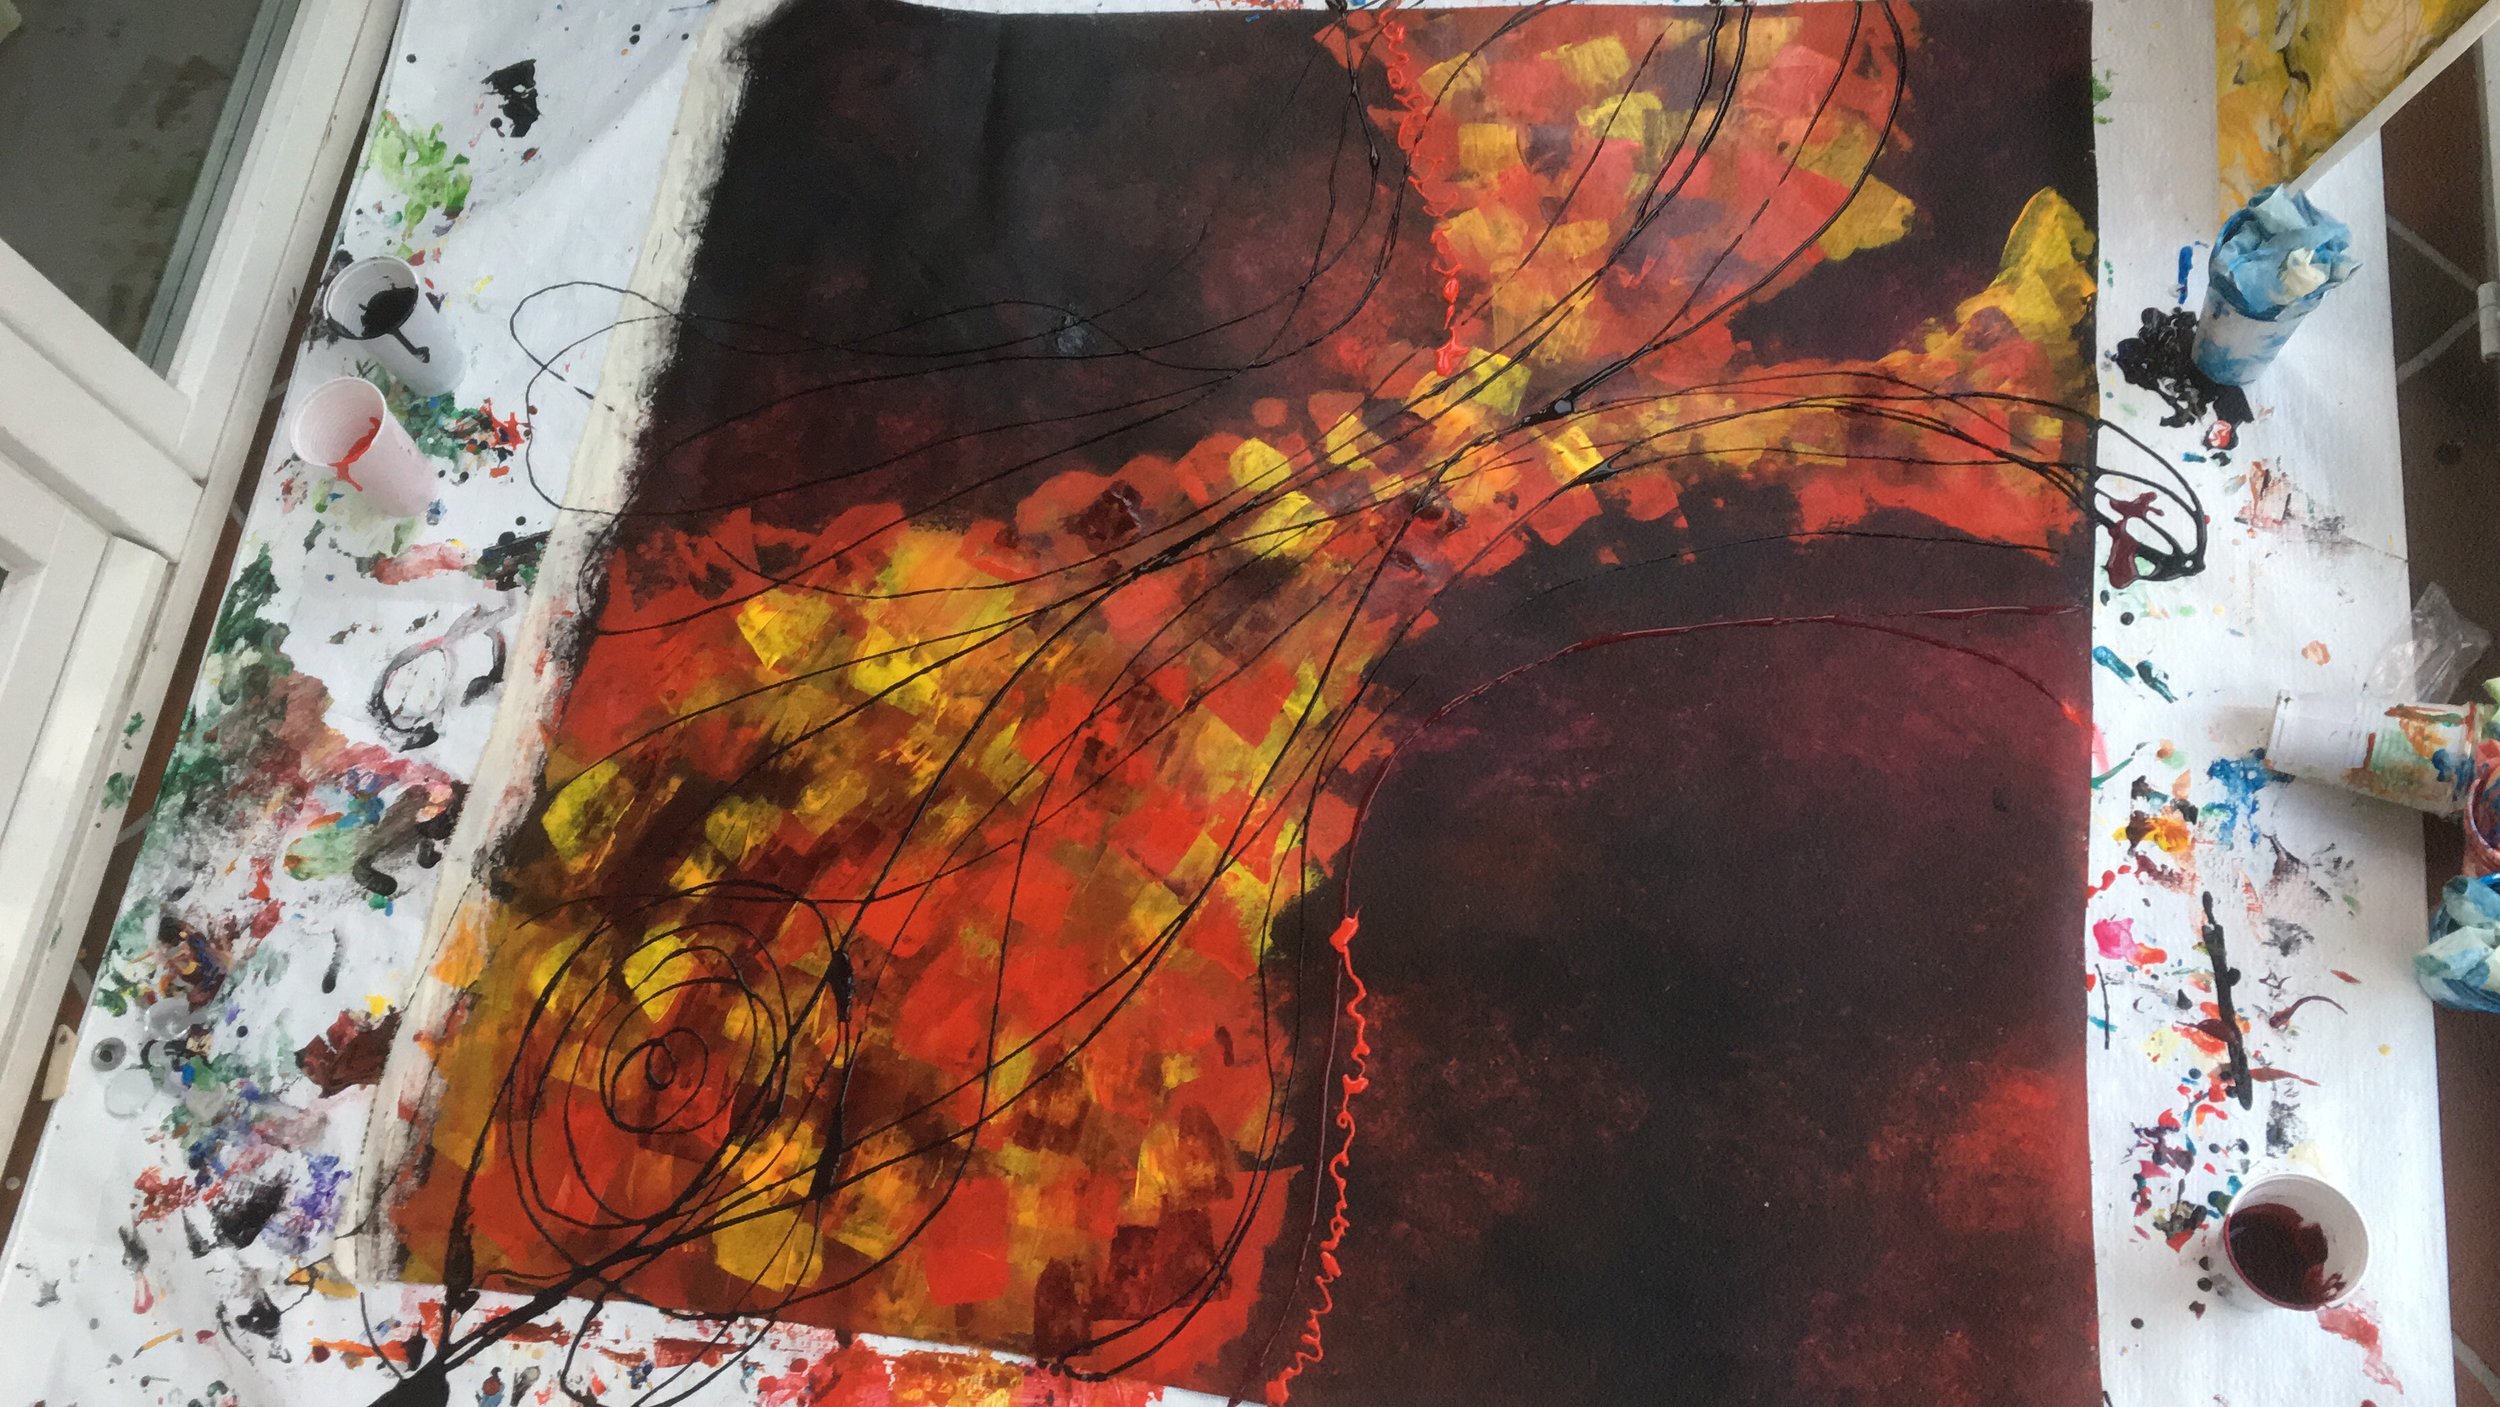
Alright, so this is an issue (or maybe a non-issue) that’s always bothered me.... I don’t have a style! You know what I mean; how artists have a specific technique, colours or style that they work in. Well I simply don’t. I think the only thing that ties it all together is the underlying theme of communication I talked about last week. I like to call myself an experimenting artist because I ‘experiment’ and jump from technique to technique. Sometimes I use structure paste; sometimes fluid paint, sometime just good old fashioned paint! I don’t think I any underlying technique or colours that I can consider my own either! 

The reason this bothers me is that most artists consider a style to be a very important to a personal brand. A brand is not simply to sell your work but it also serves to make you and your pieces recognisable. 

D4510ACC-A59D-4364-8197-1B0DD21FF159.JPG

I definitely go through periods with a style or technique but I’ve never been able to stick to one. To be honest, I get a little bored. That, combined with the fact that I love to work with/combine other artists styles. 

5402D512-700E-4D43-BEAB-450725C8ED4A.JPG

So I began to look at my work once again; trying to find a more visual connection. And then I realised, I don’t really need one! I know, that sounds a little convinient because I can’t actually find one. But in my opinion, the visceral connection that viewers have to my piece is enough to connect my work. I want people to not only appreciate it visually but really connect with it. If you have a connection with a piece, you’re drawn to it, you will find meaning of your own in it. Each has a memory or a meaning for me, but I want my viewers to form their own! And this may be some wishful thinking but I’d like to think that people do! 

IMG_0067.JPG

For the record, I did find a few visual connections but they’re probably not strong enough to form a style. I try to use high contrasts of colours and a combination of flowing and rectangular/square shapes. Again, I don’t think this is perfectly apparent in all of them. 

FullSizeRender.jpg

I’d love to know what you think! Do I have a style? If not, should I develop one? Comment below or let me know through the contact page/social media!!  

Shivani  
Writing an Artist's Statement

Art is a language. One that everyone uses, some daily. I, as an artist, use it to communicate and explore; both my own ideas and those of others. I believe that people don’t need to consciously understand every piece of art but subconsciously form a strong connection to it.

Thought I'd add that first to give you a taste of what this blog post is about. Writing an artist statement is very important to every artist. The simplest use is helping people understand what your art is all about, what makes you tick, what makes your art so special. In a more tangible sense: why should I buy your art? It can also help you build relationships with galleries, POD companies, private collectors, and other artists! All in all, extremely handy thing to have. 

So how the hell do you write one??? Well, this comes from years of experience of talking and writing about my art in various contexts (and no, I'm not bragging). I'll add in a few links at the end that you can check out as well

The first thing you want to do is pinpoint your inspiration. There can be loads of little things but try to distill it into one 'main' concept. If you paint dog portraits, then your main inspiration would be dogs; their relationships with their owners, their lives....etc. Whatever it is, try and look through your older work, compare with your newer work and find a connection between them. 

Now, this really isn't easy, especially if you're just starting out but I'll tell you how I found mine. When I was looking at my older work and my newer work, I remembered the memory associated with each piece. A song, a stressful event, a happy one, or even just an image. I have a really bad memory so I was amazed that I remembered these memories so clearly. And then I realized that it was the emotions behind each of these memories that only engraved the memory in my mind but drove the painting as well. I'm a little embarrassed to say this but it took me quite a while to realize that it was these emotions that were the tying factor of all my work. Of course, those few still lifes and weird experiments may not tie into this but the skills learned through them helped lead to a piece that did! 

I then developed this even further: how did the paintings show the emotions that began them. Well, they cant. Not literally! But I realized that through my practices I was trying to viscerally trying to make the viewer feel the same way. I was visually conveying what I could not say in words either because I could not physically talk to them or I simply did not have the words! I was (and still am) using art as a language. This led to my artist statement above and my entire brand. 

Your main factor can actually be a significant part of you. Art always takes a little out of the artist, not necessarily in a bad way! Whether you know it or not you're putting a little bit of what makes you you, into the piece. The key is to develop the 'main factor' into something that almost everybody would understand. Of course, this then gives your fans a new lense to look at your art through and they will probably connect even more to it!

I know this some really vague advice! Check out the links below and hopefully it will make more sense:

https://www.gyst-ink.com/artist-statement-guidelines/ 

http://www.artbusiness.com/artstate.html

https://www.lightspacetime.art/how-to-write-the-perfect-artist-statement/

Do you have more questions? Want to share you're own statement? Comment below or message me through the contact page!!

Shivani 

Managing my Blog

I haven't been blogging for long but I thought I'd show you guys how I organise it! I definitely recommend blogging, it a great way to bring traffic to your website and let people into the inner workings of your business! 

So here goes; its worked for me so far: 

1. As soon as I have an idea or I've read an article about blogging, I add them to my list! It's really great when I have absolutely no ideas for the week's post. I'm not a great writer so this is really helpful

FullSizeRender.jpg

2. I then create the post, add in the basic details like a title, category and tags. If I already have an idea of where the post is going, Ill make some notes and add in the pictures I want to include. It helps set the structure of it so I can continue writing.  

IMG_0212.PNG

3. Using an iPad app called Over, I create a 'main image' which is what will be posted on social media with a link as well. I try to include the title so it doesn't neccesarily need a caption. 

IMG_0210.PNG

4. And finally, I put in all the text. Again, I'm not a great writer so I really try to make it flow and make it helpful. 

5. Squarespace allows people to place posts under draft, review or schedule it. So after the post is complete, it goes in for a review. This just means that I'll check back in a few days with a fresh perspectives to look for any typos or structure mistakes.  

6. The post is then scheduled for the a week. It's usually a few weeks in advance because I like writing multiple posts in advance so I don't have to worry about it. It also allows me to make changes in case I change my mind later!


Is there anything different you do? Let me know! 

Shivani  

Packaging Paintings

Alright, here's how I package my paintings and prints for shipping! So far, none have been damaged in the process but I don't tend to send paintings outside of Europe so they don't spend that much time in the packaging.  

The Thank you Cards: 

Ive always included a thank you message with a few business cards in my packages. To the recipient, it adds a personal touch and encourages them to recommend my website to their friends. The business cards means that they have to put in minimal effort to recommend me! Which works better than asking them to do so in the invoice etc.  


FF531BBE-C7C4-40AB-AEB7-B989C91BB6BB.JPG

The Invoice: 

Im lucky because Squarespace automates my payment without doing much on my end. However, even though this happenes automatically, I try to keep in touch with my clients when I'm creating. This way, we are both happy with the result of the commission (or delivery of an original).  


If the order doesn't go through my website then I will simply send over the invoice through email. This details each product (and their prices), any discounts, shipping details and payment details. This is simpler than sending over a hard copy cause they can print this or save it to their own records.  

FullSizeRender.jpg

Packaging the Pieces: 

I usually send paintings and commissions in a Versandrolle (a cardboard tube, basically). I take them off the frames and roll them with wax paper (unless they're varnished). This along with the thank you card goes in the tube and off it goes. It's usually cheaper than trying to keep the heavy wooden frame and most of my paintings are so large that sending them through post with the frame would cost a fortune! Of course, taking it off the frame is simple, you just take the staples in the back out. 

The paintings on card are sent in a envelope and the ones on wood are just wrapped in wax paper and thick brown paper so they surface isn't damaged.  


Anything else that you do, and I should be doing? Let me know! 

Shivani  

Palettes

I think I've tried them all at some point. None of them have stuck.  Ive never gone back to using any of these except the last one (which I'm not sure is an actual palette). Now this post may sound a little rant-like but bear with me! 

1. Glass palettes 

Artist's love these and I really don't get it! They are easy to clean and you can change the backing to make it perfectly 'clean'. But since I work with large formats (usually) and on the floor, I need it to be more portable and convenient than a glass palette can be! They are too heavy and unwieldy for me to keep moving around or even rest of my painting. 

2. Wax Paper or Tear Away Palettes

You know, they come in a pack and you basically rip off the pallete and throw it away. Ok, I used these for a while cause I had so many, but once again they didn't stick. They work well for just paint but when I mix in mediums and thinners, they tend to run over the edge or merge. Which leads to disaster as I tend to put my canvas on the dry section of my painting!

3. Wooden and Plastic Palletes  

Every artist started with one of those plastic palletes! The ones with the little wells and thumb hole. And of course, the more traditional wooden ones. I really love these for one reason: they keep a piece of each painting. But eventually this turns into a con! I've had palletes that became so caked in paint that they were entirely unusable. And I'd rather not keep spending money on palletes  

image.jpg

4. But finally! I found the right one! It's cardboard. Literally cut up pieces of packaging. I know it sounds ridiculous but not only is it cheap it works so well. You can cut out the size you want, shape it to hold more fluid mediums and in the end if you love the colors you can keep it! (That's what I did with the one below) And best of all, its cheap and you're recycling your trash.   

image.jpg

(5) Ok this one, I added as an afterthought! There comes a time when you're too lazy to grab another bit of card or maybe you're in the moment and don't want to pause to cut up boxes. I started just using my tarp for simple techniques. Like below, it works really well for pallet knives and those plastic wipers (sorry, I don't know what they're called!)  

4C43A975-BAB0-436F-B34F-02363285C140.JPG

Sorry about the rant, but hope it helped anyway! If you guys know any other types of pallets, let me know! 

Shivani